

Small Truths About Chocolate
Yes! But you should know that the result will be a rustic chocolate,closer to what was eaten centuries ago. The taste and texture will be very different from industrial bars. Here’s how to do it.
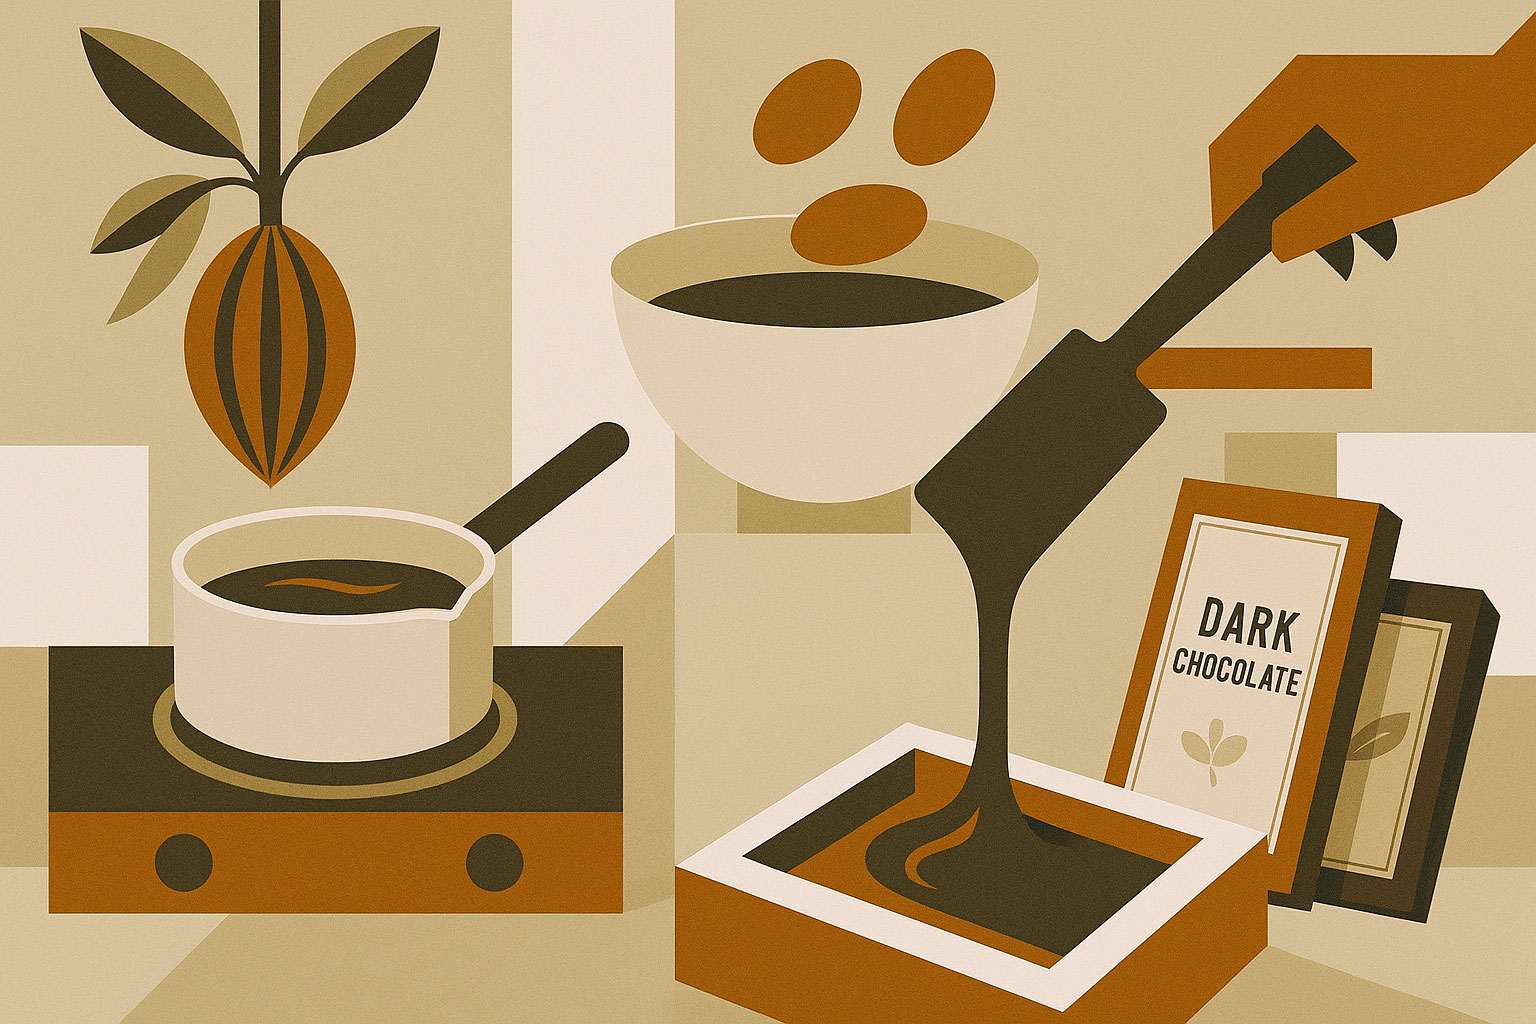
Essential Equipment:
-
Fermented and dried cacao beans
-
Granulated sugar
-
Cocoa butter (optional)
-
Non-stick pan or oven
-
Small powerful blender or mortar
-
Sieve or small fan for winnowing
Step-by-Step Process:
-
Roast the beans
– Heat the beans in a pan or oven (convection mode).
– Temperature: approx. 120 °C / 250 °F – Duration: 15–25 minutes.
– Stop roasting as soon as you smell chocolate aroma.
– Cool the beans quickly.
-
Winnow the beans
– Lightly crush the beans to separate the husk.
– Use a sieve or small fan to remove the husk from the nibs.
– Also remove the central germ.
-
Grind the nibs
– Lightly warm the nibs (about 60 °C / 140 °F).
– Blend or crush until you obtain a paste (more or less smooth).
– This process takes time and may remain grainy.
-
Add sugar
– Add granulated sugar to the paste.
– Continue grinding to achieve the finest texture possible.
At this stage, you’ll have a rustic chocolate,dense, sometimes acidic or bitter. You can already mold it and taste.
Optional: Go Further
-
Conching (refining taste and texture)
– Pour the paste into a small domestic conche (melanger).
– Run it for several hours (up to 48h) to smooth texture and reduce acidity.
-
Add cocoa butter (optional)
– For improved fluidity, add a little melted cocoa butter.
– This eases molding and makes the chocolate more velvety.
Orfève Tips:
The quality of the beans is essential.
Choose traceable beans, well-fermented and sun-dried.
Don’t be discouraged if the result isn’t perfect at first.
The goal isn’t perfection, but the joy of rediscovering a fascinating ancestral craft.